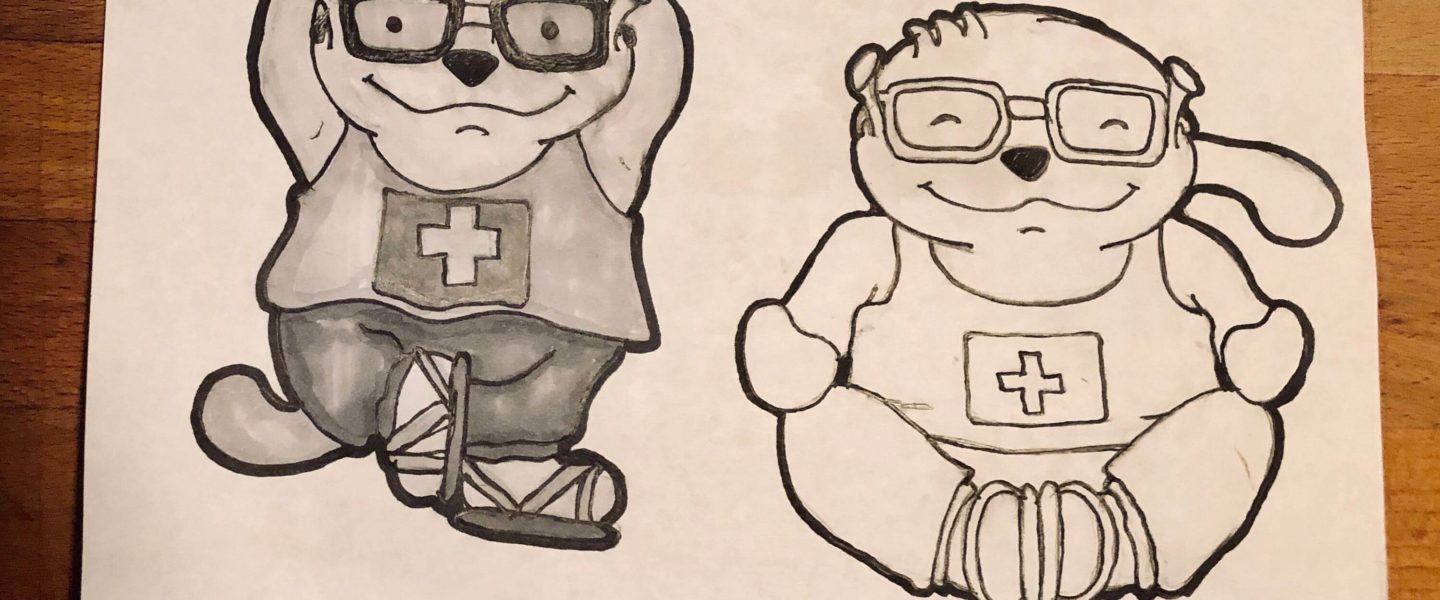
The Request
Spex enjoys his job but also highly recommends self-care. One of his favorite ways of taking care of himself is yoga. GreenGeeks had a request for 2 new poses to go along with Spex’ new hobby, standing tree pose and a sitting Buddha pose.
GreenGeeks is one of wapu.us fantastic sponsors. With their help, we are able to bring wapuus to more camps all around the world.
Besides being one of the best hosts, GreenGeeks is the leading Green Energy Web Hosting Provider around, powering over 350,000 sites.
Sketches
All the artwork in this post was done by James Tryon, me, the author of this post. I included all my sketches here to encourage everyone else. Drawing takes a lot of practice and patience to make things look effortless. By no means do I think I’m amazing or the best at “art”. I just enjoy giving back to the WordPress community the best way I can.
Small problem, there was not a lot of references of what a wapuu looks like front-facing and definitely not any doing yoga.
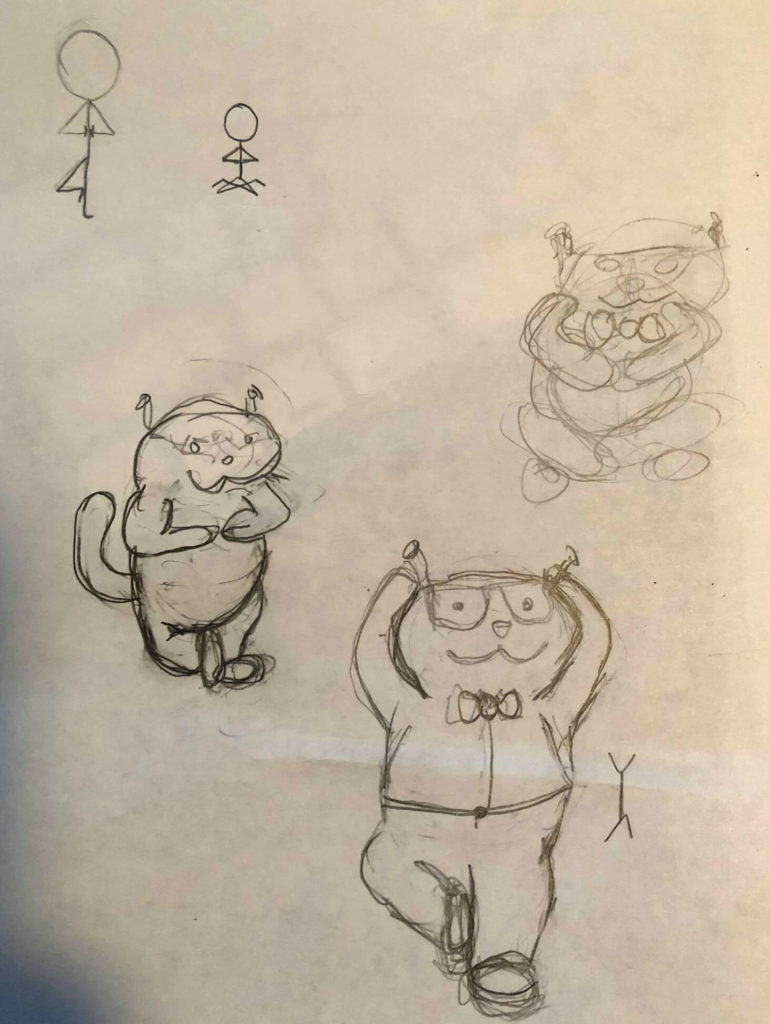
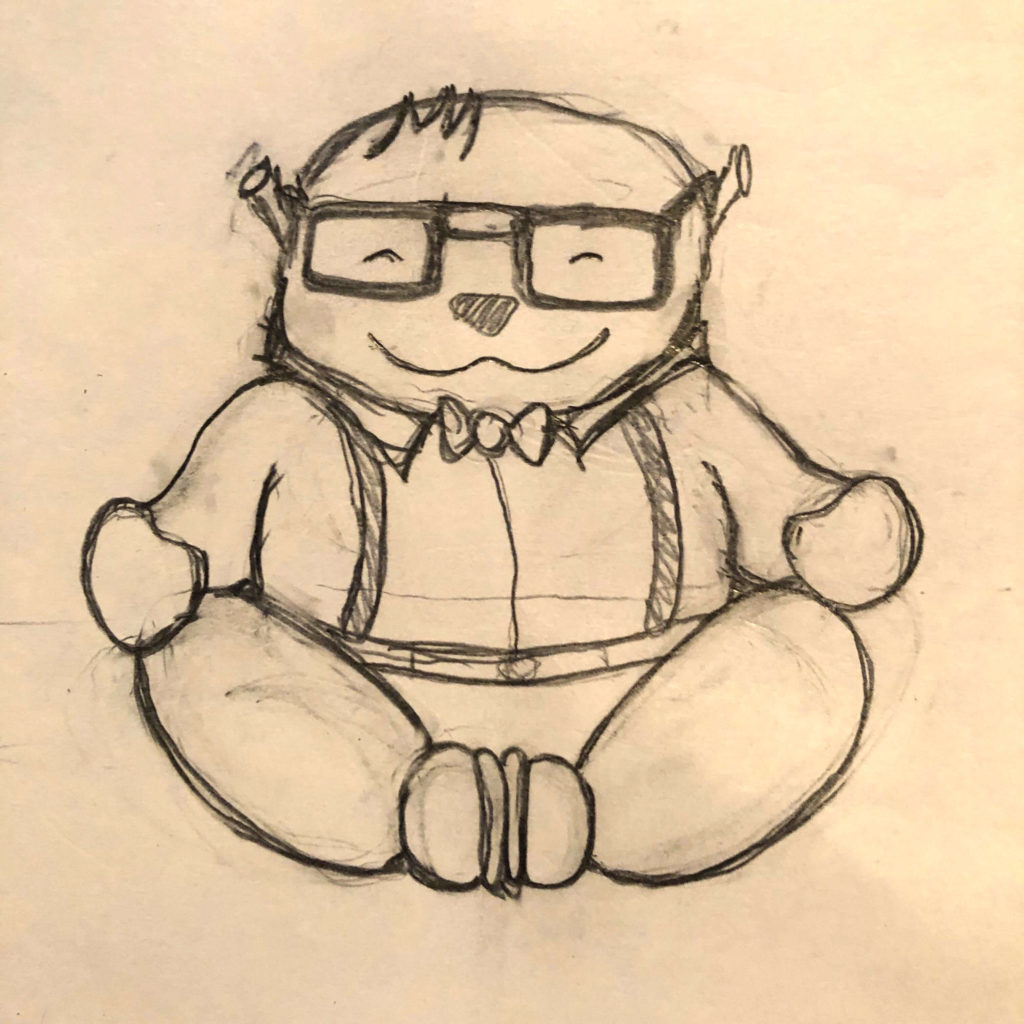
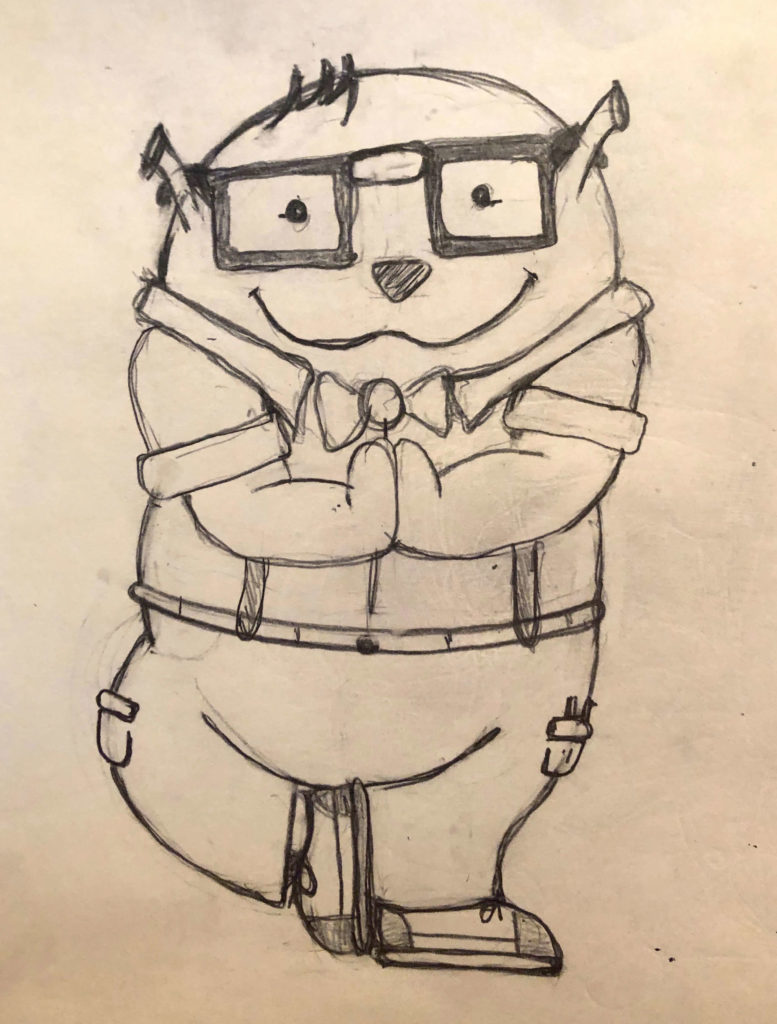
As you can see below, I had to get the stances correct. That meant googling Tree & Budda Poses. In the first image, you can see the stick figures. Once I know the correct stances, I did a couple of quick sketches. You can see them getting progressively better.
The very first sitting sketch I spent maybe 30 seconds on it. I just needed to get the idea out of my head. The 2nd sketch was about 2 mins and still very loose. I know at this point I’m still testing things out. The 3rd round of sketches has a little more detail, slightly larger drawing. I focus on cool ideas here and add details to the key areas to prep for the final sketch.
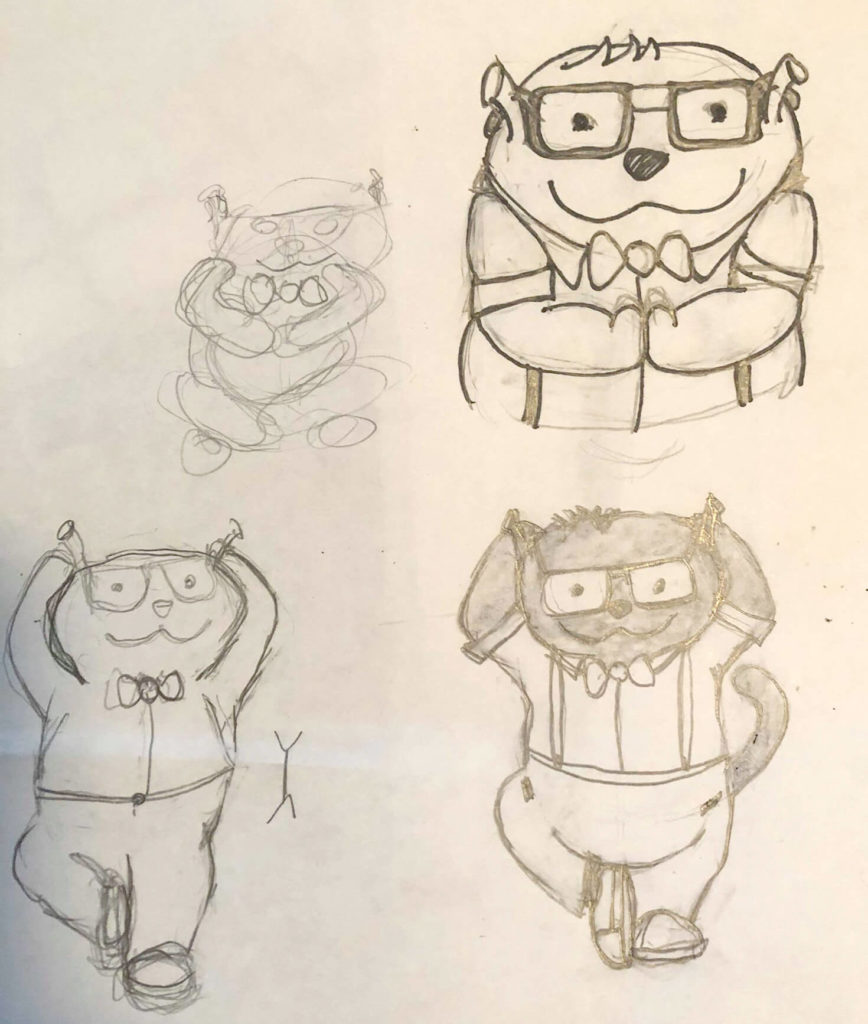
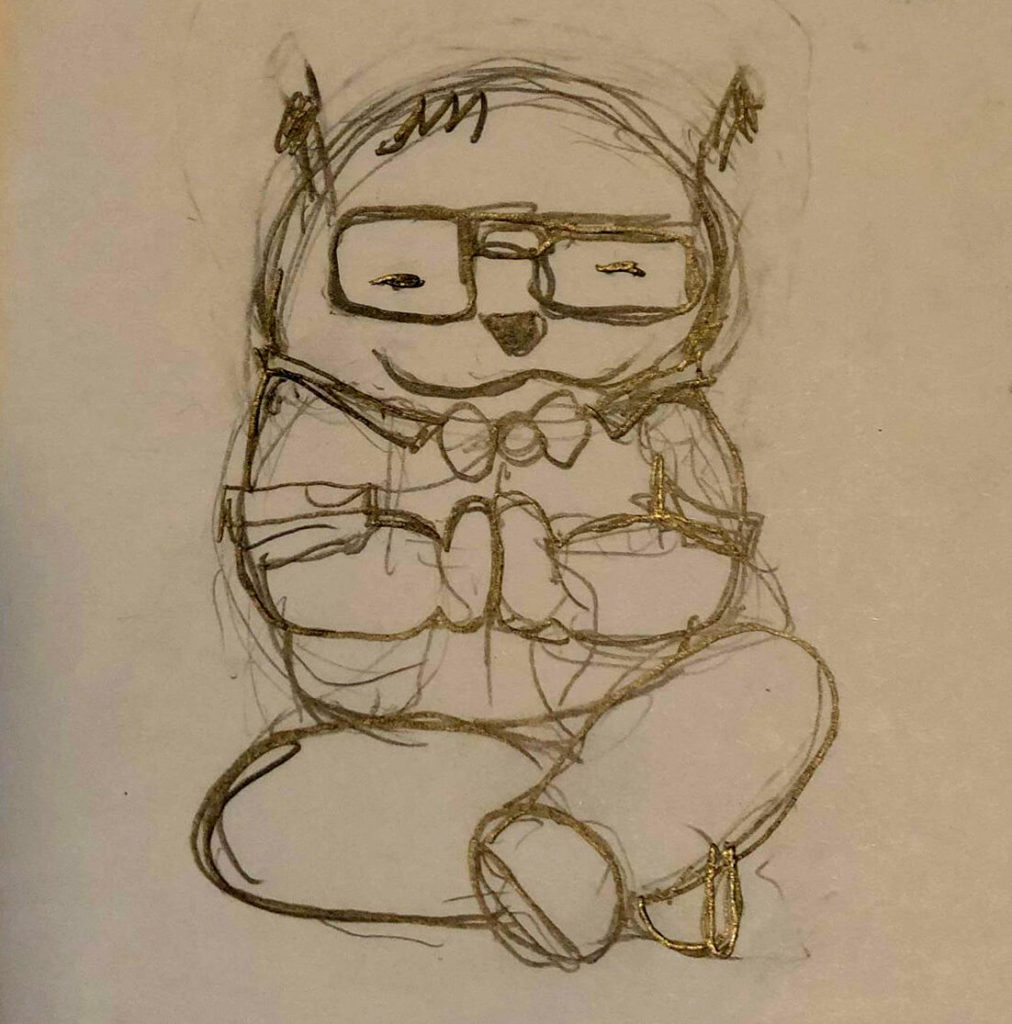
Up to this point, it’s been a couple of hours of test sketches. learning the anatomy of Spex from the new angle, also making sure he does not lose what makes him a wapuu(Technically an Onipuu). The final sketches for round one take me a good hour each. I strongly suggest using a good hi-polymer white eraser. They do a great job handling all my mess-ups.
Quick Tip: Take photos along the way. somethings you make something that is amazing but it’s a quarter of an inch off, or the accessory would look better on the other hand. No problem, take a pic and photoshop it for your vector version, or draw it again since you have the reference.
I take my time and have fun, put on some good music and go. I know they don’t have to be perfect because we are going to vectorize them later. The more you practice the more you can have faith in your lines. Your muscle memory will kick in and your lines will be smooth and precise, Don’t let that discourage you. That’s why we have erasers.
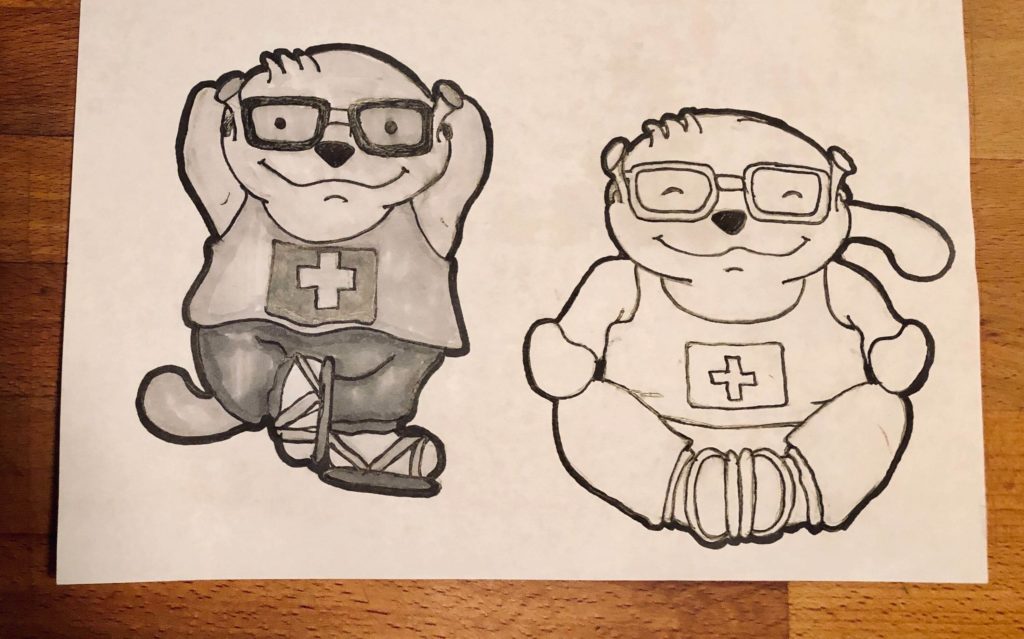
The last thing I like to do with my sketches when I have time is ink them. As you have already seen via the header/feature image or later on down the post, That image pops more and looks a lot cleaner. In fact, the image looked as messy as the 2 final sketches from round #1. I take a fine point drawing pins and redraw/trace the final sketch. I might use a couple of different weights of fine point 0.02 up to a 0.8. The cheap set is fine. I then take the largest pin or a fine tip sharpy and trace just the outside outlines. Once done, I go over the whole thing with my eraser and touch up any areas with my pin.
If I want to get really fancy, I might add in some grayscale Copic markers, really up to the artist. However, remember to scan or take photos before adding color.
Budda Pose Time-Lapse
There is the first of 3 time-lapses for this project. I set the sketch on its own layer and set it as a template. This will lock the layer and dim the artwork. The also allows you to toggle between color and line work and still see the starting artwork. This video is sped up about 25X, condensing about 3 hours of screen recording down to about 6 mins.


Tree Poses
This is time-lapse #2. Since we did he sitting buddha we could reuse most the upper half. Because of this, I was able to do this tree pose in almost half the time as the buddha stance.
Because I was not 100% on the proper Tree Pose arm position, I did both. However, however I lost the video footage.


Revisions
Even though Spex has no problems exercising in his work clothes, he still hates to get them dirty. The GreenGeeks team asked for some looser fitting attire for his “me time”.
Time-lapse #3. The key take away from all the time-lapses is how off the illustrations look right up to the end. Lots of tiny adjustments and time.
End Result
There is one major difference between the video and sketches versions and the final deliverable. It’s his neck. When Spex was all dressed up, his collar and bowtie helped cover the neck, but with a tank top on his neck was really exposed and maybe to thin for wapuu. We had to make the neck wider. It took only a moment and took Spex’ yoga attire to 11.


Total time spent working on these 2 new poses from sketch to final deliverable was close to 20 hours including everything. I bet that’s more time then you expected, huh?
I want to end the post with this, believe in your self and don’t get discouraged. It’s going to take time to hone your drawing skills, but if you understand how the tools work and have a clear vision of what you want to create, you can create almost anything.
